Pernah nggak sih ngerasa udah niat hidup sehat, tapi kok selalu mental di tengah jalan? Bukan karena kurang usaha, kadang masalahnya cuma satu: lingkungan rumah belum mendukung. Padahal, pola hidup sehat dari lingkungan rumah itu sering jadi fondasi yang paling “ngaruh”, karena rumah adalah tempat kita balik lagi—buat istirahat, makan, dan isi ulang tenaga.
Kalau rumahnya bikin kita gampang mager, gampang ngemil, atau susah tidur nyenyak, tubuh juga ikut kebawa. Sebaliknya, kalau suasana rumah sedikit lebih rapi, lebih “enak buat hidup”, kebiasaan sehat jadi lebih natural, nggak terasa dipaksa.
Pola hidup sehat dari lingkungan rumah itu soal kebiasaan yang gampang kejadian
Banyak orang membayangkan hidup sehat itu harus dimulai dari olahraga berat atau aturan makan ketat. Padahal, yang paling sering bikin perubahan justru hal-hal yang kita lakukan tanpa mikir panjang.
Contohnya begini: apa yang paling gampang kamu ambil saat lapar? Air putih atau minuman manis? Buah di meja atau snack di lemari? Hal-hal kecil seperti itu sebenarnya “diatur” oleh rumah, bukan semata-mata oleh kemauan. Karena manusia itu cenderung pilih yang paling gampang.
Kalau di rumah segala sesuatu serba praktis untuk pilihan sehat, kita jadi lebih sering melakukan hal sehat tanpa drama.
Dapur, meja makan, dan kebiasaan yang terbentuk pelan-pelan
Dapur itu pusat keputusan. Bahkan buat orang yang nggak hobi masak sekalipun, dapur menentukan ritme makan dan jenis asupan harian. Kalau dapur berantakan, stok bahan nggak jelas, atau alat masak bikin pusing, ujungnya kita cari yang instan.
Sebaliknya, dapur yang “siap pakai” bikin kita lebih mungkin makan teratur. Nggak harus fancy—cukup rapi, bersih, dan ada pilihan makanan yang realistis. Misalnya ada telur, sayur yang gampang diolah, buah yang tinggal cuci, atau lauk rumahan yang bisa dipanasin tanpa ribet.
Di sisi lain, kebiasaan makan di rumah juga dipengaruhi suasana. Kalau makan selalu sambil layar menyala, seringnya kita nggak sadar porsi dan jadi makan lebih cepat. Bukan berarti harus anti gadget, tapi kalau sesekali makan lebih mindful, tubuh bisa lebih peka sama rasa kenyang.
Rumah yang bikin gerak jadi lebih mungkin
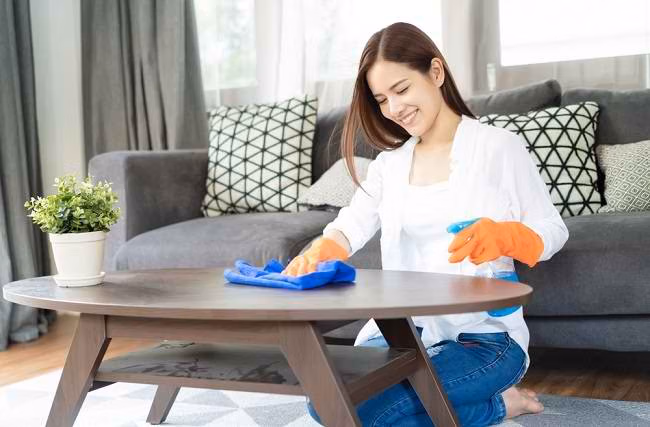
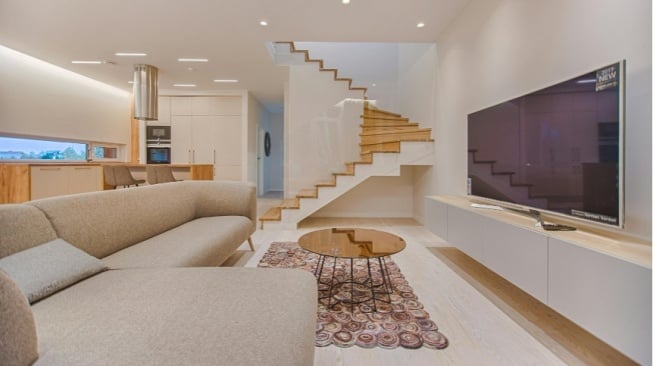
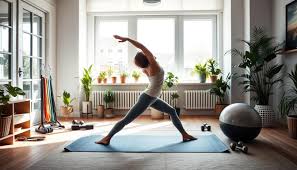
Orang sering bilang, “Aku tuh kurang olahraga.” Tapi kadang masalahnya bukan kurang niat—melainkan rumahnya nggak “mengundang” untuk bergerak. Ruangan sempit, barang numpuk, atau suasana rumah bikin kita cuma pengen rebahan.
Kalau sudut kecil saja dibuat lebih lega—entah ruang tamu, teras, atau kamar—tubuh jadi punya ruang untuk sekadar peregangan ringan. Bahkan aktivitas rumah seperti bersih-bersih, nyapu, beresin lemari, atau jalan bolak-balik ambil barang itu tetap termasuk gerak. Nggak selalu harus disebut olahraga biar terasa manfaatnya.
Gerak kecil yang terasa setelah beberapa hari
Yang menarik, gerak kecil di rumah sering terasa efeknya di badan. Punggung lebih longgar, bahu nggak terlalu tegang, napas lebih enak. Apalagi kalau kerja atau main gadget bikin kita duduk lama, peregangan singkat saja bisa jadi “penyelamat” biar badan nggak kaku.
Kadang yang dibutuhkan bukan jadwal olahraga panjang, tapi kebiasaan “mengganggu” mager setiap beberapa jam.
Bagian tanpa heading: ada satu hal yang sering terlupakan, yaitu udara dan cahaya di rumah. Rumah yang pengap atau minim cahaya matahari sering bikin mood berat, gampang ngantuk, dan kepala terasa penuh. Ketika ventilasi dibuka, ruangan lebih terang, dan sirkulasi lancar, badan terasa lebih ringan. Ini bukan hal mistis, tapi efek yang sering dirasakan banyak orang tanpa harus dijelaskan panjang.
Baca Selengkapnya Disini : Kebiasaan Hidup Sehat di Rumah yang Sering Terbentuk dari Hal Sederhana
Tidur lebih rapi kalau rumahnya juga “tenang”
Pola hidup sehat dari lingkungan rumah juga nyambung banget ke urusan tidur. Kualitas tidur bukan cuma soal jam, tapi juga suasana. Kalau kamar berantakan, lampu terlalu terang, atau kebiasaan rebahan sambil scroll nggak berhenti-berhenti, otak susah masuk mode istirahat.
Rumah yang lebih tenang itu bukan berarti harus sunyi total. Tapi ada ritme: malam terasa malam, siang terasa siang. Pencahayaan lebih redup menjelang tidur, suasana lebih adem, dan ada jarak kecil dari layar sebelum tidur. Hal-hal sederhana ini sering bikin tidur lebih “dalam”, dan bangun nggak terlalu berat.
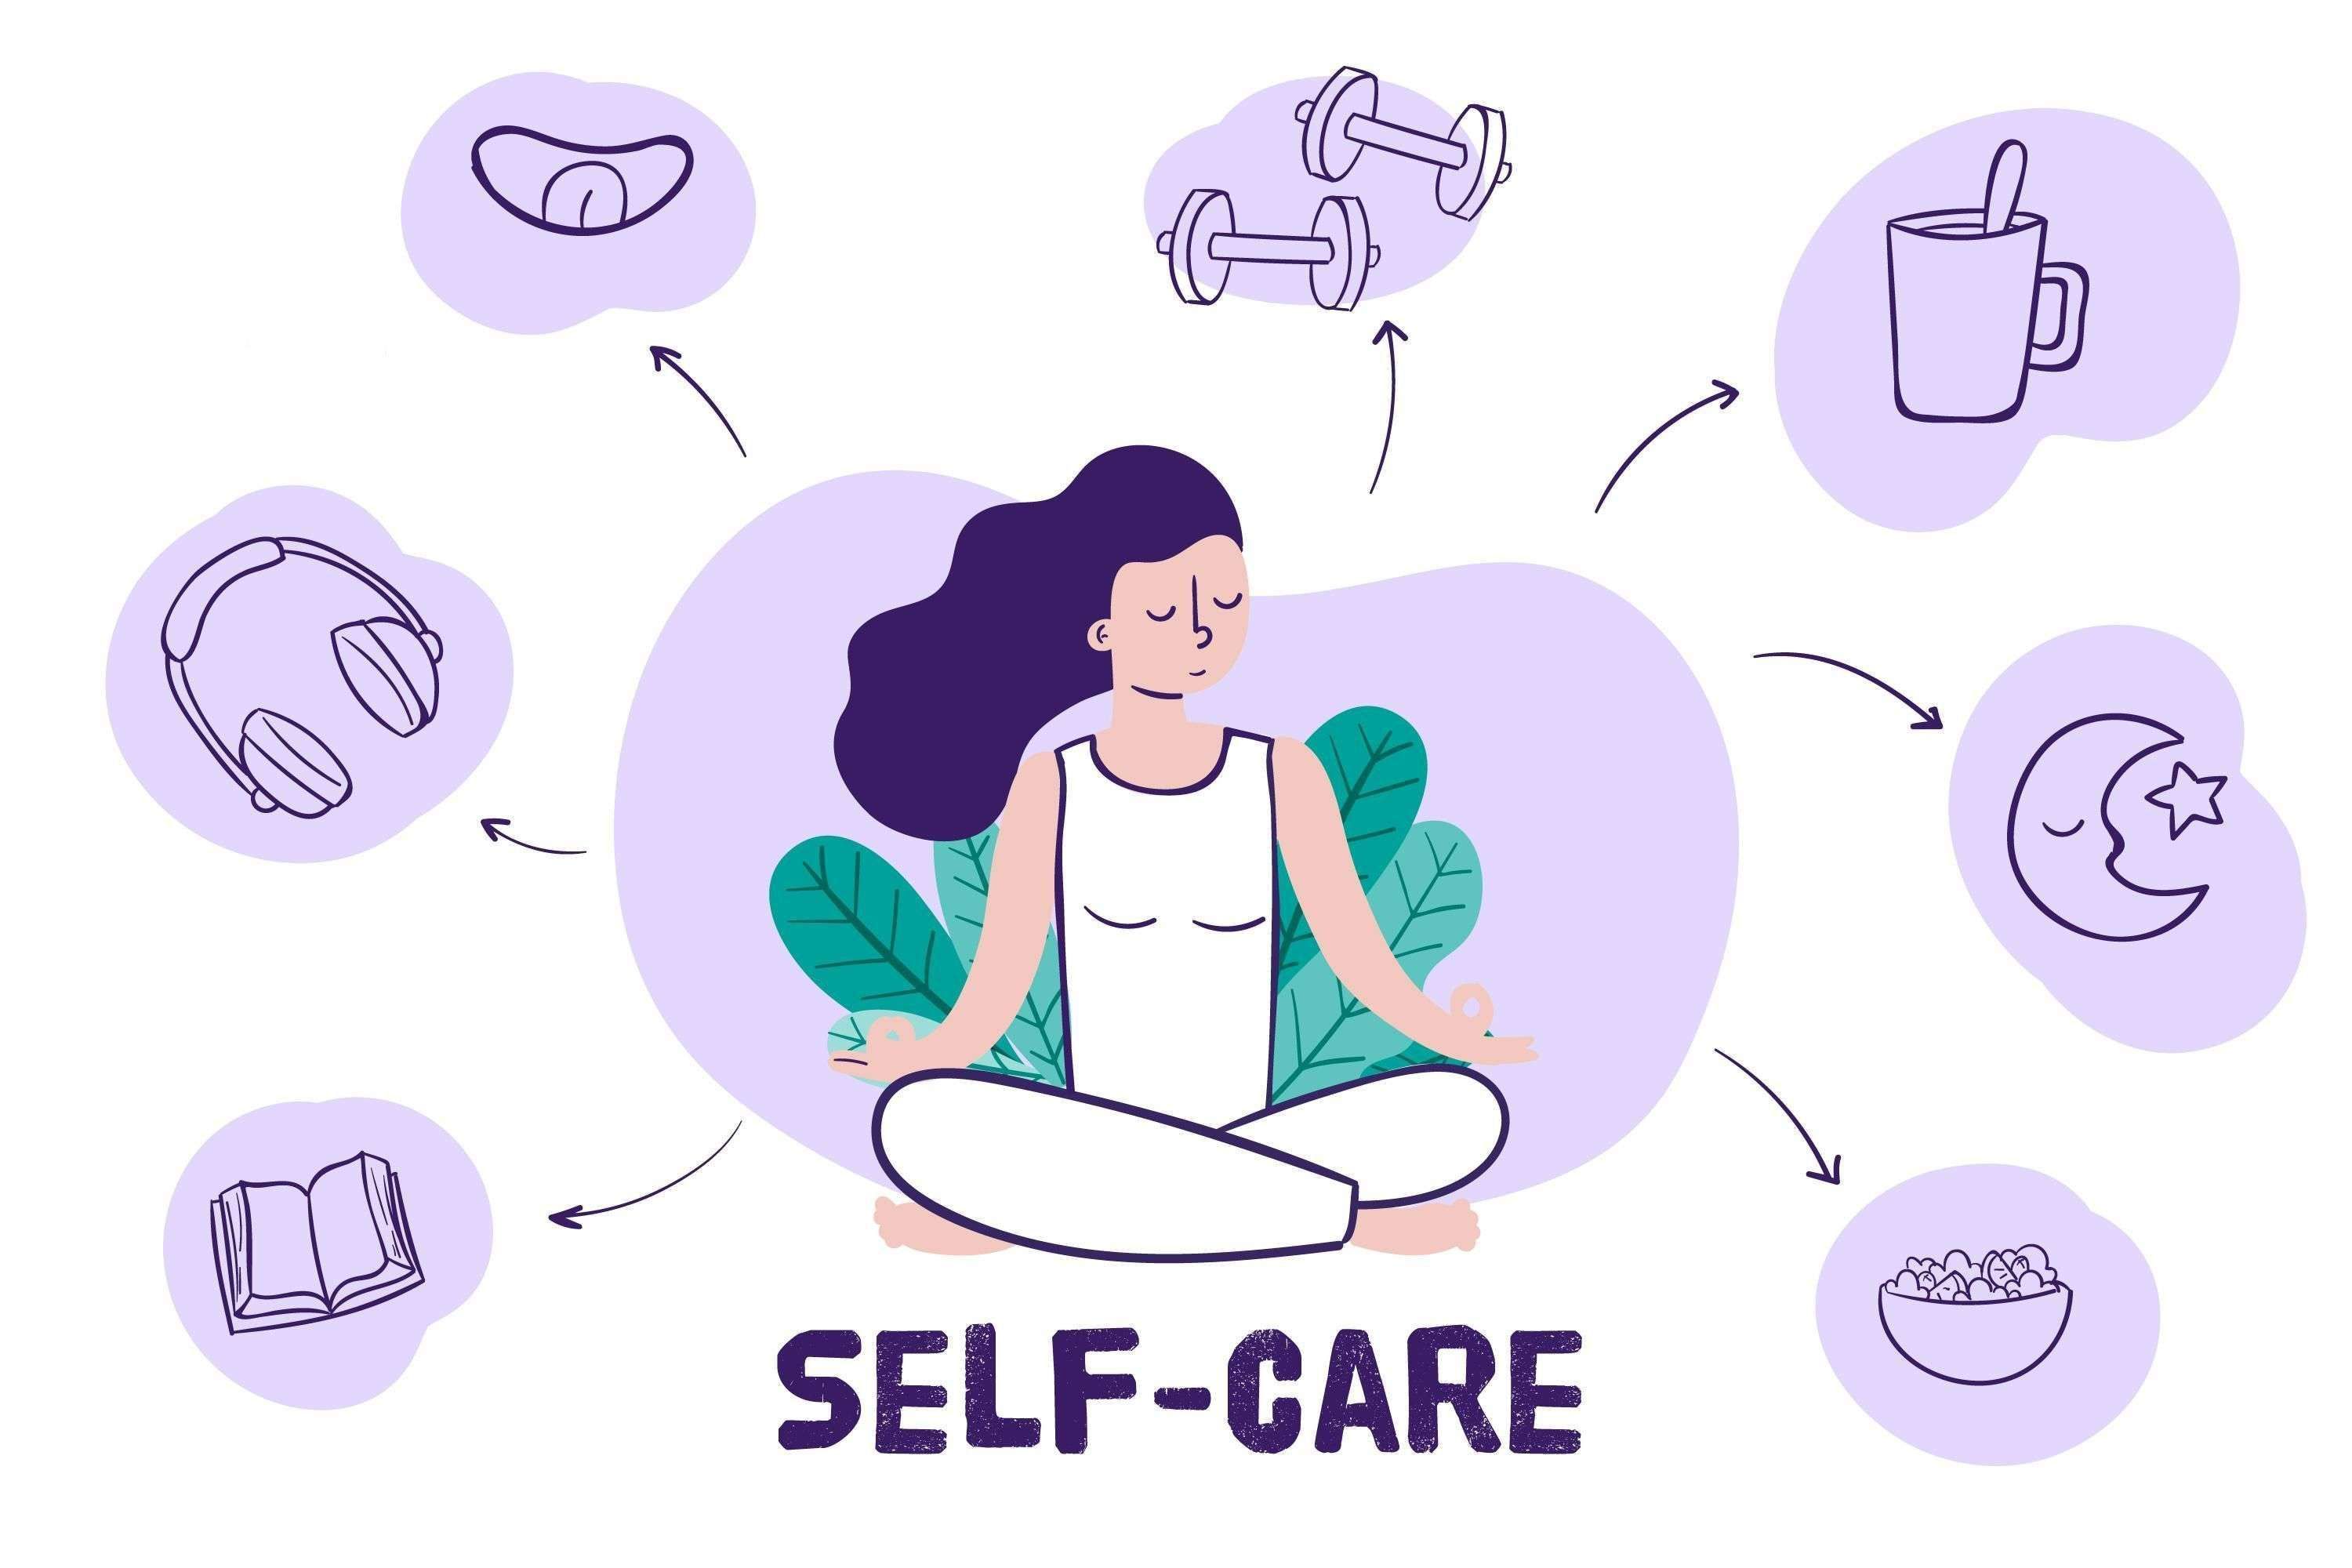
Pada akhirnya, pola hidup sehat dari lingkungan rumah bukan tentang jadi orang paling disiplin. Ini lebih ke soal menata ruang dan kebiasaan supaya pilihan sehat terasa lebih mudah dilakukan, bukan selalu butuh perjuangan besar.
Kalau dipikir-pikir, rumahmu sekarang lebih sering mendorong kamu buat hidup sehat, atau malah bikin kamu gampang kembali ke kebiasaan lama?